

Start with a starter buffer fund, then build to several months of essential expenses in a dedicated, FDIC-insured, liquid account. That’s the core of every sound emergency savings strategy, and the steps to get there are simpler than most people expect.
Here’s what to do in the next 24–72 hours:
- Open a dedicated high-yield savings account (HYSA) separate from your everyday checking.
- Set up an automatic recurring transfer — even $25–$50 per paycheck gets the habit started.
- Calculate your essential monthly expenses (housing, utilities, food, insurance, minimum debt payments) using last month’s bank statement.
- Set your first milestone at $1,000, then plan your path to a full 3–6 month cushion.
Fidelity recommends starting with that $1,000 buffer precisely because it protects against immediate spending shocks while making the larger goal feel achievable, not overwhelming.
Table of Contents
- What counts as an emergency fund expense?
- How much should you actually save?
- A simple step-by-step plan to build your fund
- Where should you keep your emergency fund?
- When should you tap the fund, and how do you rebuild it?
- How do you balance emergency savings with debt and retirement?
- Practical tools and a sample savings timeline
- How to choose the right account for your emergency fund
- Key Takeaways
- The case for keeping it boring on purpose
- Rate Grove helps you find the right account faster
What counts as an emergency fund expense?
An emergency fund is liquid cash set aside exclusively for sudden, unplanned, and genuinely necessary expenses. The word “liquid” matters: you need to access this money within one to two business days without penalties or selling anything.
What qualifies:
- Unexpected medical or dental bills (an emergency root canal, an ER visit)
- Major car repairs needed to get to work
- Urgent home repairs (burst pipe, failed furnace in winter)
- Out-of-pocket insurance deductibles after an accident
- Temporary income loss from a layoff or illness
What does not qualify:
- Planned home upgrades or appliance replacements you’ve had time to budget for
- Vacations, gifts, or discretionary purchases
- Investments or “opportunities” that feel time-sensitive
Gray areas trip people up. Planned dental work — say, a crown you’ve known about for months — belongs in a sinking fund, not your emergency reserve. An emergency root canal you didn’t see coming? That’s exactly what the fund is for. Similarly, replacing a car tire after a blowout is an emergency; buying new tires because yours are getting worn is a predictable cost you can plan for separately.
“An emergency fund’s primary purpose is capital preservation and accessibility, not growth. Using the fund for non-emergencies undermines its entire role.” — Investopedia
How much should you actually save?
The standard benchmark is 3–6 months of essential expenses, but the right number for you depends on your income stability, household structure, and other financial assets.
The sample calculation
Focus only on must-haves. Fidelity’s guidance suggests looking back at least three months of spending to find a reliable baseline, or longer if your income varies.
Essential monthly expenses to include:
| Category | Example monthly amount |
|---|---|
| Minimum debt payments | $250 |
| Total essential expenses | $3,250 |
At a sample essential expense baseline, target cushions of several months’ worth of expenses serve as goalposts.
Tailoring the target to your situation
| Household type | Recommended cushion | Why |
|---|---|---|
| Dual income, stable jobs, no dependents | 3 months | Two earners reduce income-shock risk |
| Single earner, one or more dependents | 4–6 months | One income stream, higher fixed costs |
| Freelancer or irregular income | 6+ months | Longer job-search windows, income gaps |
| High fixed costs (large mortgage, private school) | 6 months | Less flexibility to cut spending quickly |
Robust health insurance and disability coverage can justify a slightly smaller cushion. Conversely, if you work in a volatile industry or have no employer-sponsored benefits, lean toward the higher end.
Pro Tip: Build in tiers. Hit $1,000 first (your immediate shock absorber), then $3,250 (one month), then scale to your full target. Each milestone is a win worth acknowledging.
A simple step-by-step plan to build your fund
Knowing the target is one thing. Getting there is another. Here’s a sequential plan that works whether you’re starting from zero or restarting after a setback.
-
Assess your essential expenses. Pull three months of bank and credit card statements. Add up only the non-negotiable categories from the table above. That number is your monthly baseline.
-
Set a timeline and monthly savings target. Divide your goal by the number of months you want to reach it. To save your goal amount in a year, divide it by months and set aside the corresponding amount each month. If that’s too steep, extend the timeline or look for ways to cut discretionary spending temporarily.
-
Automate deposits immediately. The CFPB identifies automation as the single most effective tactic for building an emergency fund consistently. Even small amounts per paycheck add up. Set the transfer to happen the day after your paycheck lands so you never see the money in your checking account.
-
Use windfalls to accelerate. Tax refunds, work bonuses, and proceeds from selling unused items are one-time opportunities to close the gap fast. Redirect them directly to your emergency account before they get absorbed into everyday spending.
-
Protect your progress with a separate account. Keeping emergency savings in the same account as your spending money is the fastest way to drain it. A dedicated account with a slightly inconvenient transfer time (one to two business days) adds just enough friction to prevent impulse withdrawals.
Pro Tip: Every time you pay off a recurring debt — a car loan, a credit card — redirect that freed-up payment amount straight into your emergency fund. You were already living without that money; now it builds your cushion instead.
Vanguard’s guidance reinforces this: treat emergency savings like a monthly bill, and prioritize it when you get a raise. Round-up savings apps can also make incremental progress nearly invisible.

Where should you keep your emergency fund?
The right account balances three things: liquidity (can you get the money in 1–2 days?), safety (is it insured?), and yield (is it earning something while it sits?). Growth is secondary. The primary metric is accessibility and insurance coverage.
FDIC insurance (Federal Deposit Insurance Corporation) covers deposits at member banks up to $250,000 per depositor, per institution. NCUA insurance covers the same limit at federally insured credit unions. Never keep emergency savings in an account that lacks one of these protections.
Here’s how the main options compare:
| Account type | Liquidity | Insurance | Typical APY | Minimums & fees | Withdrawal rules |
|---|---|---|---|---|---|
| Standard savings | Instant (same bank) | FDIC/NCUA | Low | Often none | Unlimited |
| High-yield savings (HYSA) | 1–2 business days | FDIC/NCUA | Higher | Often none | Unlimited |
| Money market account | 1–2 business days | FDIC/NCUA | Moderate–high | Sometimes higher minimum | Check/debit access |
| Short-term CD (3–12 mo.) | Locked until maturity | FDIC/NCUA | Highest | Varies | Early withdrawal penalty |
Short-term CDs can offer slightly higher rates, but the early withdrawal penalty is a real cost if you need the money before maturity. A practical approach: keep the bulk of your fund in a HYSA for full liquidity, and place only a portion (say, one month’s expenses) in a short-term CD ladder if you want to capture a higher rate on money you’re unlikely to need immediately.
One advanced option worth knowing: Roth IRA contributions (not earnings) can be withdrawn at any time without penalty, making a Roth a supplemental backstop. It’s not a primary emergency fund — you don’t want to disrupt retirement savings — but it’s a useful second layer if your cash cushion runs short.
For a deeper look at HYSA options suited to variable income, the Rate Grove guide to high-yield savings for irregular income covers the key features to compare.
When should you tap the fund, and how do you rebuild it?
Clear rules about when to use the fund are just as important as building it. Without them, the account slowly erodes through “almost emergencies.”
Ask these questions before withdrawing:
- Is this expense unexpected? (Not something you had time to plan for)
- Is it necessary? (Not optional or deferrable)
- Is it urgent? (Would waiting cause significant harm or cost more later)
- Have you exhausted other options? (Adjusting the budget, using a sinking fund, negotiating a payment plan)
If all four answers are yes, the withdrawal is justified.
Replenishment schedule
After a withdrawal, rebuild the fund on a defined schedule. Don’t wait until you “have extra money” — that moment rarely comes on its own.

| Withdrawal size | Suggested rebuild timeline | Monthly contribution |
|---|---|---|
| — | — | Lump sum or one extra transfer |
| — | — | Increase auto-transfer temporarily |
| Over $2,000 | — | Treat like a new savings goal with milestones |
Document every withdrawal — even a quick note in a spreadsheet. Knowing why you used the fund and how long it took to rebuild creates accountability and helps you spot patterns (like a recurring car repair that signals you need a dedicated vehicle sinking fund).
Last-resort alternatives — a low-rate credit card, a HELOC, or a personal line of credit — exist, but they come with interest costs and the risk that lenders tighten access during downturns. Applying for a HELOC while you’re employed is smart preparation, but it’s a fallback, not a substitute for funded cash savings.
How do you balance emergency savings with debt and retirement?
Most financial planners use a sequenced priority framework. Here’s a practical version:
- Step 1: Build a $1,000 starter buffer before anything else. This prevents a single unexpected expense from forcing you into high-interest debt.
- Step 2: Contribute enough to your employer’s retirement plan to capture the full match. A 100% match is an immediate guaranteed return — passing it up is leaving compensation on the table.
- Step 3: Pay down high-interest debt (credit cards above roughly 15–20% APR). The guaranteed “return” of eliminating that interest often beats any savings rate you can earn.
- Step 4: Scale your emergency fund to the full 3–6 month target while making minimum payments on lower-rate debt.
- Step 5: Once the fund is fully funded, redirect surplus cash to retirement accounts, investing, or accelerated debt payoff.
Insurance coverage directly affects how large your cushion needs to be. Strong health, disability, and unemployment insurance reduces the financial impact of the most common emergencies. If you have gaps in coverage — no short-term disability, for example — lean toward the higher end of the savings target.
One quick decision rule: if your debt carries an APR above 20%, prioritize paying it down after the $1,000 buffer. Below that threshold, building the full emergency fund first usually makes more sense because the psychological security of a funded cushion reduces the likelihood of taking on new debt during a crisis.
Practical tools and a sample savings timeline
You don’t need a complex spreadsheet to track progress. A few simple tools cover most of what you need.
Useful tools and behaviors:
- A monthly essential-expense calculator (pen and paper or a basic spreadsheet works fine)
- Your bank’s automatic transfer scheduler
- A savings-rate planner to model how long different monthly contributions take to hit each milestone
- A CD ladder calculator if you plan to split funds across maturities
- A calendar reminder every 6–12 months to review your target as expenses change
Sample savings timeline
The timeline to reach savings milestones depends on monthly savings rate and your essential monthly expenses.
| Milestone | Target amount | —/mo | —/mo | — |
|---|---|---|---|---|
| Starter buffer | $1,000 | 5 months | 3 months | 2 months |
| 1-month cushion | $3,250 | — | — | 5 months |
| 3-month cushion | — | — | 25 months | 15 months |
| 6-month cushion | — | — | ~4 years | — |
The numbers make a clear case for automation and windfalls. A single $2,000 tax refund directed to savings shaves months off any of these timelines. For tactics on maximizing your savings contributions after a raise or debt payoff, Rate Grove’s guide covers the mechanics in detail.
How to choose the right account for your emergency fund
Use this checklist when comparing accounts. Every item affects either your access to the money or the cost of holding it there.
Account selection checklist:
- APY: Is the rate competitive versus other liquid options right now?
- FDIC or NCUA coverage: Is the institution a member? Verify at NCUA.gov or the FDIC’s BankFind tool.
- Minimum balance: Does the account require a minimum to avoid fees or earn the advertised rate?
- Monthly fees: Are there maintenance fees that could erode your balance?
- Withdrawal limits: Does the account cap the number of free transfers per month?
- Transfer speed: How long does it take to move money to your linked checking account?
- Online and mobile experience: Can you manage the account easily from your phone?
- Promotional rates: Is the APY a teaser rate that drops after a few months?
| Dimension | Standard savings | HYSA | Money market | Short-term CD |
|---|---|---|---|---|
| Liquidity | Instant | 1–2 days | 1–2 days | Locked |
| Safety | FDIC/NCUA | FDIC/NCUA | FDIC/NCUA | FDIC/NCUA |
| APY | Low | Higher | Moderate–high | Highest |
| Fees/minimums | Usually none | Usually none | Sometimes higher | Varies |
| Withdrawal penalty | None | None | None | Yes (early withdrawal) |
| Convenience | High | High | High | Low |
Pro Tip: Some banks let you create named sub-buckets within a single savings account — one labeled “Emergency Fund,” another for “Car Repairs,” another for “Medical Deductible.” This keeps sinking funds separate from your true emergency reserve without requiring multiple bank relationships.
Use Rate Grove’s savings rate comparison guide to evaluate APYs, fees, and account terms side by side before you move money.
Key Takeaways
Building and maintaining an emergency fund comes down to a clear target, the right account, and automation that removes the decision from your daily routine.
| Point | Details |
|---|---|
| Start with $1,000 | A starter buffer protects against immediate shocks while the larger goal is still in progress. |
| Target 3–6 months of expenses | Freelancers and single earners should lean toward 6+ months; stable dual-income households can use 3. |
| Automate every transfer | Set recurring deposits the day after payday so the money moves before you can spend it. |
| Use FDIC/NCUA-insured accounts | Keep funds in a HYSA or money market account for liquidity, safety, and a competitive APY. |
| Rate Grove comparison tools | Use Rate Grove to compare current APYs, fees, and account terms before opening or moving an account. |
The case for keeping it boring on purpose
Most advice about emergency funds focuses on the mechanics: how much, where, and how to automate. What gets less attention is the mindset shift that actually makes the fund work long-term.
The accounts that hold emergency savings are deliberately unexciting. A high-yield savings account earning a competitive APY is not going to make you wealthy. That’s the point. The moment you start thinking of your emergency fund as an investment to optimize, you start making decisions that compromise its core function: being there, in full, on the day you need it most.
There’s a real temptation, especially when markets are doing well, to move emergency savings into brokerage accounts or money market funds that aren’t FDIC-insured. The logic sounds reasonable until the month your car engine fails and the market is down 20%. Liquidity and insurance aren’t features to trade away for an extra half-percent of yield.
The other underrated discipline is the replenishment rule. Most people rebuild their fund slowly and informally after a withdrawal, which means the cushion is perpetually smaller than it should be. Setting an automatic rebuild transfer the same week you make a withdrawal removes the friction and keeps the fund whole. Vanguard’s research consistently points to behavioral rules — clear definitions of what qualifies as an emergency, plus an explicit commitment to replenish immediately — as the factor that separates funds that hold up over time from those that quietly disappear.
Build it boring. Keep it boring. That’s the strategy.
Rate Grove helps you find the right account faster
Finding a high-yield, FDIC-insured account with no monthly fees and a competitive APY used to mean hours of tab-switching and fine-print reading. Rate Grove cuts that down to minutes.
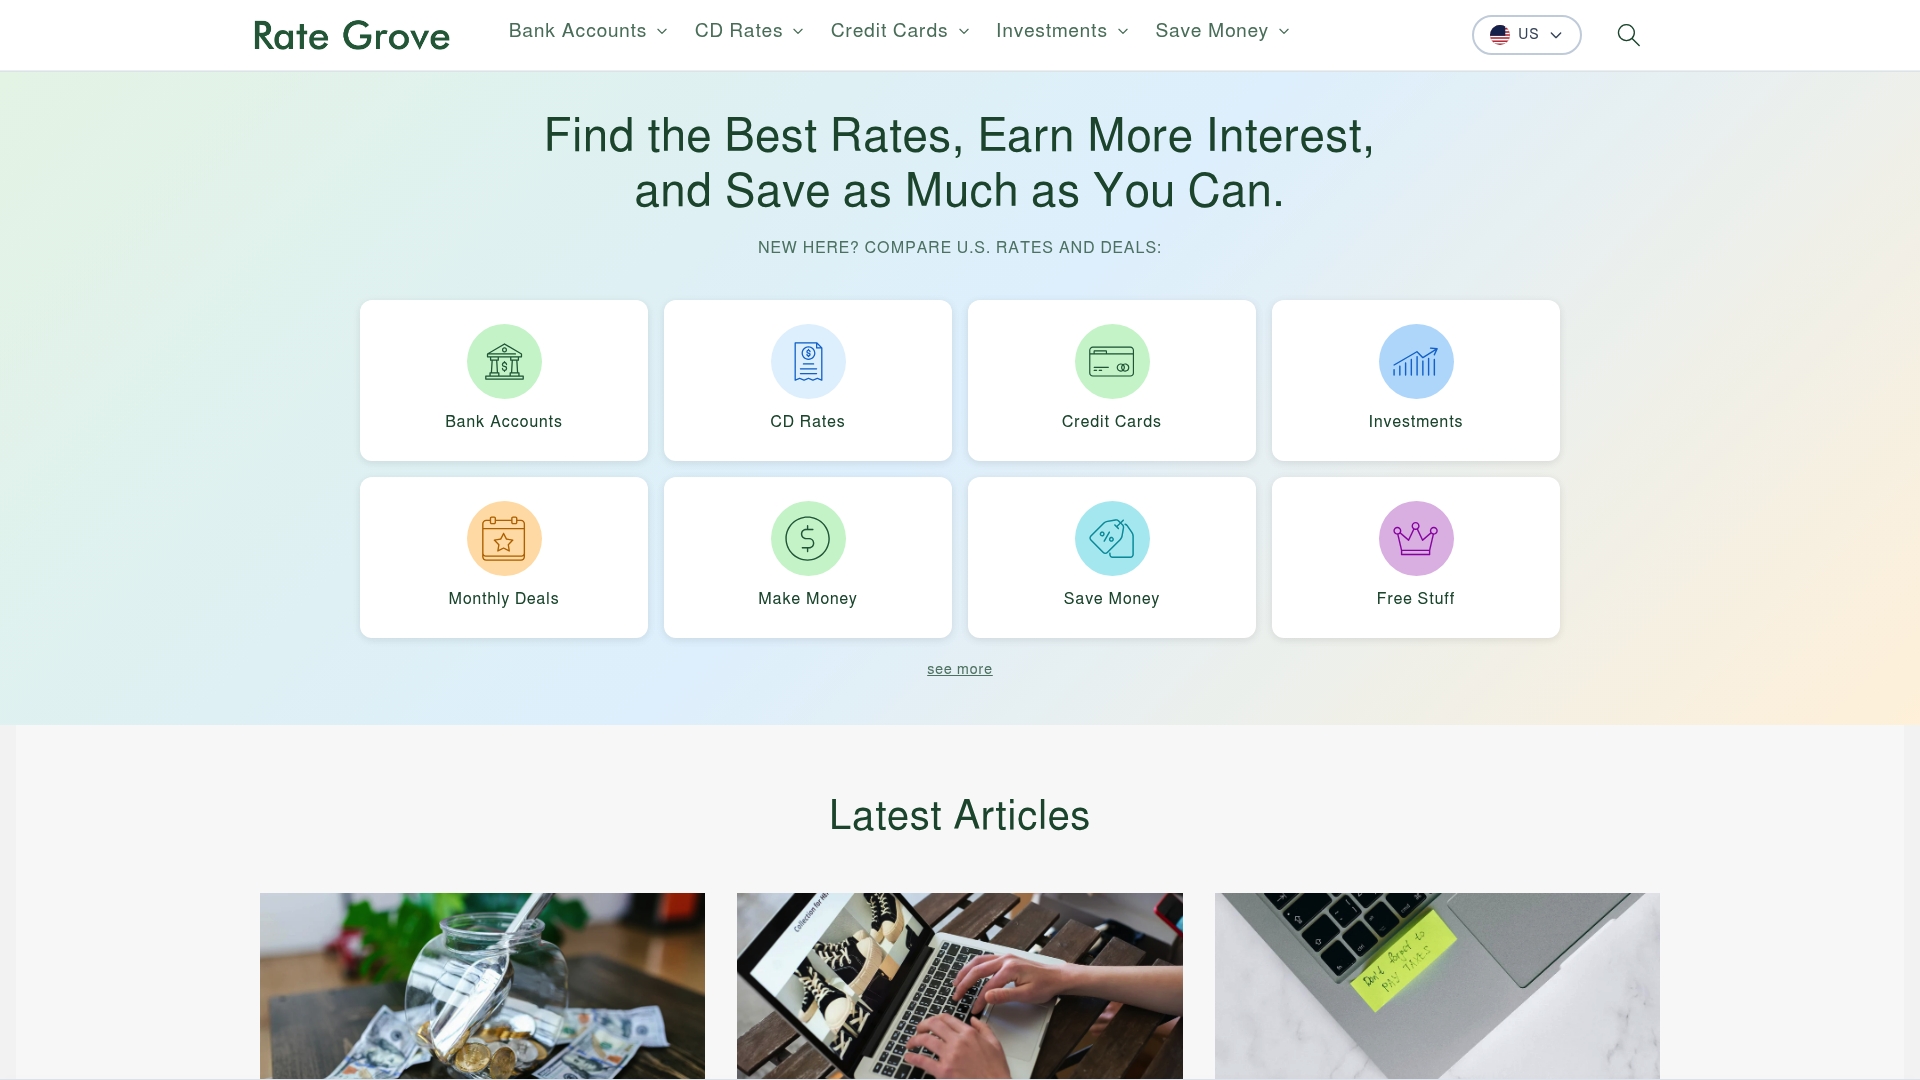
Rate Grove’s comparison tools pull current APYs, minimum balance requirements, fee structures, and FDIC/NCUA coverage status into a single, easy-to-scan view, updated monthly. You can filter by account type (HYSA, money market, short-term CD), sort by APY or fees, and identify which accounts link easily to your existing checking. Once you’ve shortlisted two or three options, setting up an automatic transfer takes less than ten minutes.
Visit Rate Grove to compare accounts now, and check the terms and insurance status of any account before moving funds.
This article is for general informational purposes only and does not constitute financial advice. Verify current rates, terms, and insurance coverage directly with the institution or a qualified financial professional before making any account decisions.